Oldies!


posted by MakeupbyVivian @ 15:19
0 Comments
![]()
I am a student but in my spare time makeup takes up my time. I enjoy experimenting with colours and creating different looks for different occasions, I may not be a pro but i'm learning :)

.jpg)

posted by MakeupbyVivian @ 14:32
0 Comments
![]()
posted by MakeupbyVivian @ 16:29
0 Comments
![]()


posted by MakeupbyVivian @ 16:15
0 Comments
![]()
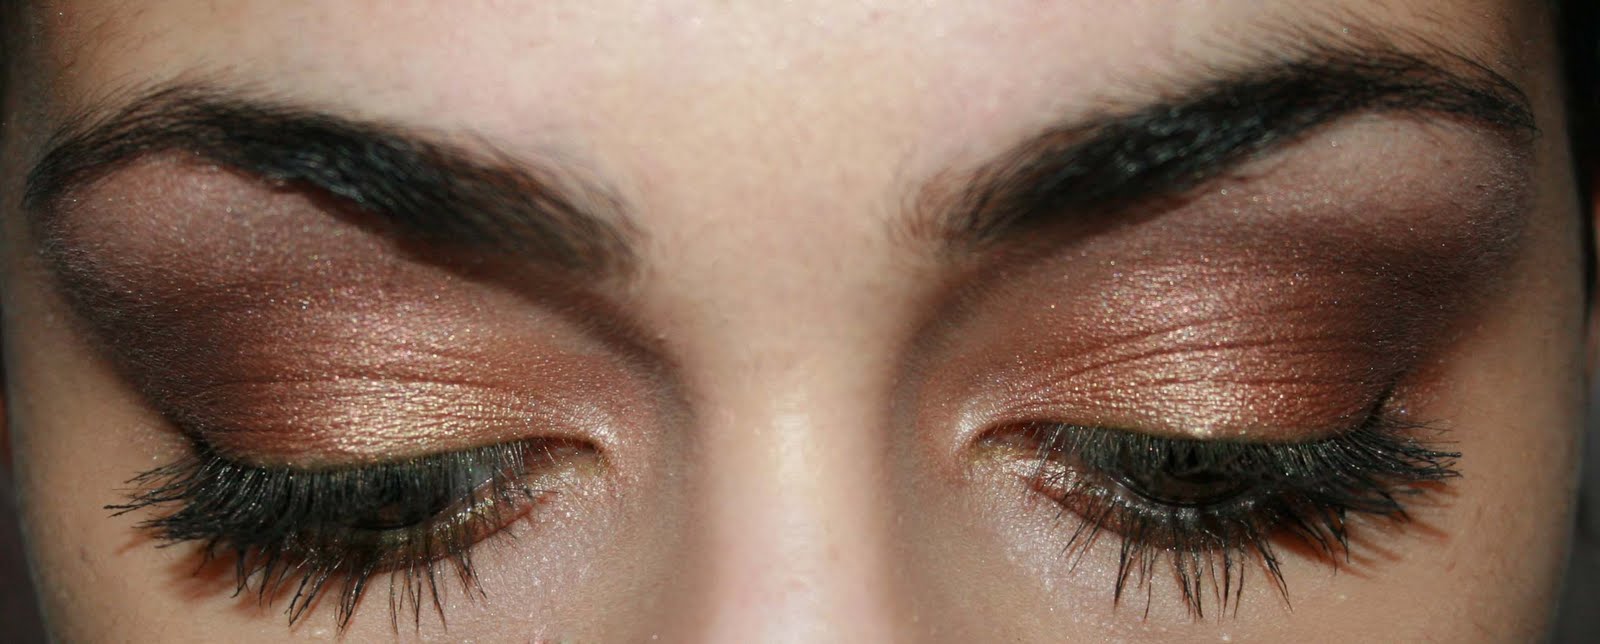
 All brushes used are Sigma and were bought with my own money.
 MAC Painterly
 Trax
Trax using a 239 brush
 219
219


posted by MakeupbyVivian @ 15:31
0 Comments
![]()


posted by MakeupbyVivian @ 17:20
0 Comments
![]()


posted by MakeupbyVivian @ 17:18
0 Comments
![]()

posted by MakeupbyVivian @ 17:11
0 Comments
![]()


posted by MakeupbyVivian @ 13:42
0 Comments
![]()

posted by MakeupbyVivian @ 11:56
0 Comments
![]()


Labels: BarryM, Estee Lauder, Green eyeshadow, MAC, Makeup, Painterly, Sweet and Punchy, Trax
posted by MakeupbyVivian @ 11:29
0 Comments
![]()
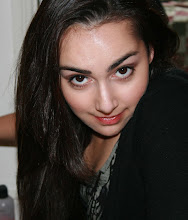
My name is Vivian. I thought it would be cool to start a blog which, here I will post reviews about things that I have tried out which I either love or hate and want to share them with you guys!

Subscribe to
Comments [Atom]